Installing OpenCV for Java
Introduction to OpenCV for Java
As of OpenCV 2.4.4, OpenCV supports desktop Java development. This tutorial will help you install OpenCV on your desktop operating system.
Install the latest Java version
Download the latest Java JDK from the Oracle website. Now you should be able to install the last Java JDK by opening the file just downloaded.
Install the latest Eclipse version
Download the latest Eclipse version at the Eclipse Download page choosing the
Eclipse IDE for Java Developers
version (suggested).
Eclipse Download 페이지에서 Java Developer 용 Eclipse IDE 버전 (권장)을 선택하여 최신 Eclipse 버전을 다운로드하십시오.
Extract the downloaded compressed file and put the resulting folder wherever you want to. You don’t need to install anything. Alternatively, you can try the Eclipse installer.
다운로드 한 압축 파일을 추출하고 결과 폴더를 원하는 위치에 놓습니다. 아무 것도 설치할 필요가 없습니다. 또는 Eclipse 설치 프로그램을 사용해보십시오.
Install OpenCV 3.x under Windows
First of all you should download the OpenCV library (version 3.x) from here.
먼저 OpenCV 라이브러리 (버전 3.x)를 여기에서 다운로드해야합니다.

'Sources' 를 클릭하면 'opencv-3.3.1.zip' 압축파일이 'Win pack' 을 클릭하면 'opencv-3.3.1-vc14.exe' 파일이 다운 받아집니다.
opencv-3.3.1.zip 압축을 풀어보니 build 폴더가 보이지 않습니다.
exe 를 실행시켜보니 압축이 풀려질 위치를 물어보고 압축을 풉니다. 이 안에 build 폴더가 있습니다.
Then, extract the downloaded OpenCV file in a location of your choice. Once you get the folder
opencv
put in wherever you prefer.
그런 다음 원하는 위치에서 다운로드 한 OpenCV 파일의 압축을 풉니다. 일단 opencv 폴더를 원하는 위치에 놓습니다.
Now the only two things that you will need are: the
opencv-3xx.jar
file located at
\opencv\build\java
and the
opencv_java3xx.dll
library located at
\opencv\build\java\x64
(for 64-bit systems) or
\opencv\build\java\x86
(for 32-bit systems). The 3xx suffix of each file is a shortcut for the current OpenCV version, e.g., it will be 300 for OpenCV 3.0 and 330 for OpenCV 3.3.
이제는 \ opencv \ build \ java에있는 opencv-3xx.jar 파일과 \ opencv \ build \ java \ x64에있는 opencv_java3xx.dll 라이브러리 (64 비트 시스템 용) 또는 \ opencv \ build \ java \ x86 (32 비트 시스템의 경우). 각 파일의 3xx 접미사는 현재 OpenCV 버전의 바로 가기입니다. 예를 들어 OpenCV 3.0에서는 300이고 OpenCV 3.3에서는 330입니다.
Install OpenCV 3.x under macOS
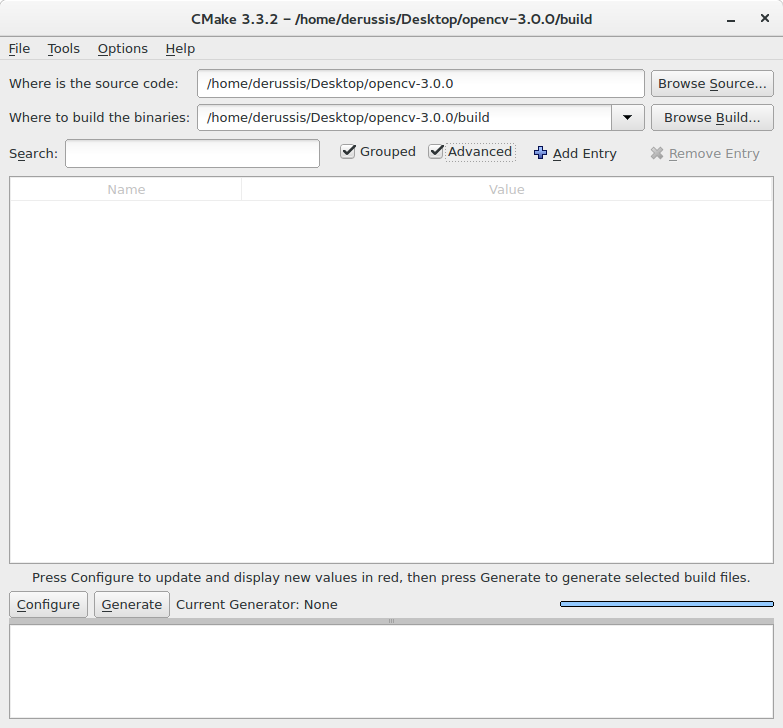
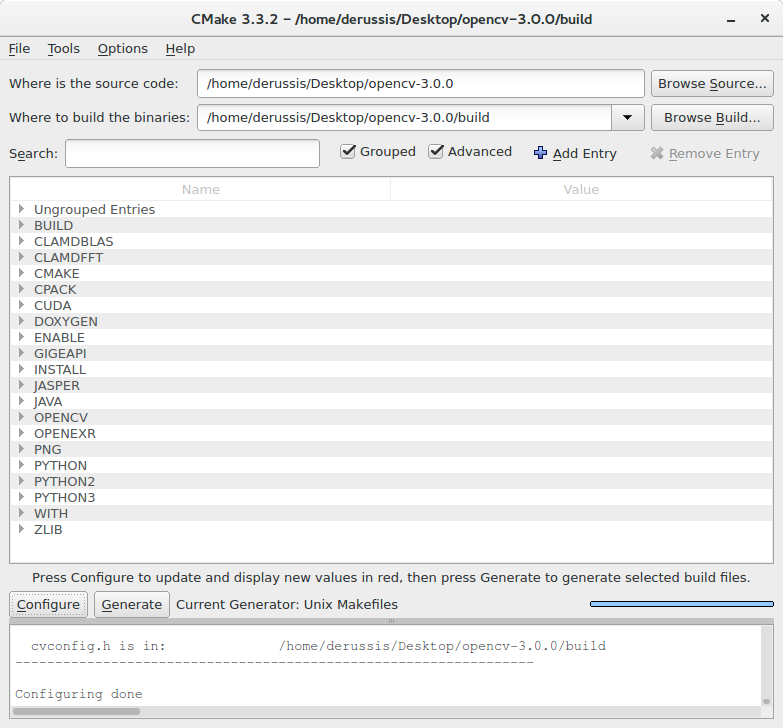
Install OpenCV 3.x under Linux
Set up OpenCV for Java in Eclipse
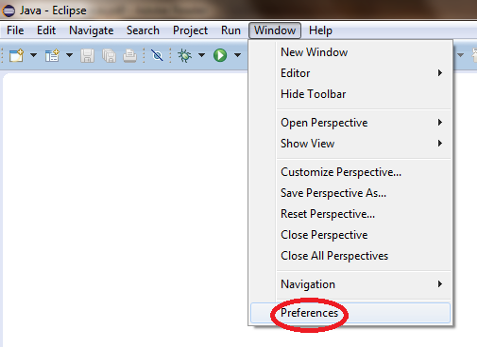
Open Eclipse and select a workspace of your choice. Create a User Library, ready to be used on all your next projects: go to
Window > Preferences...
.
Eclipse를 열고 원하는 작업 공간을 선택하십시오. 모든 다음 프로젝트에서 사용할 준비가 된 사용자 라이브러리 만들기 : Window> Preferences ...로 이동하십시오.
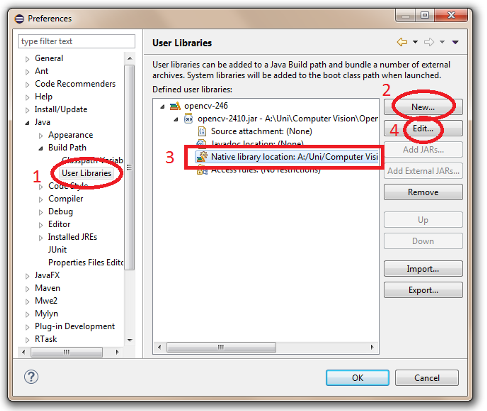
From the menu navigate under
Java > Build Path > User Libraries
and choose
New...
. Enter a name for the library (e.g., opencv) and select the newly created user library. Choose
Add External JARs...
, browse to select
opencv-3xx.jar
from your computer. After adding the jar, extend it, select
Native library location
and press
Edit...
.
메뉴에서 Java> 빌드 경로> 사용자 라이브러리를 탐색하고 새로 만들기 ...를 선택합니다. 라이브러리의 이름 (예 : opencv)을 입력하고 새로 생성 된 사용자 라이브러리를 선택합니다. 외부 JAR 추가 ...를 선택하고 컴퓨터에서 opencv-3xx.jar을 찾아 선택하십시오. 항아리를 추가하고 확장 한 다음 기본 라이브러리 위치를 선택하고 편집 ...을 누릅니다.
Select
External Folder...
and browse to select the folder containing the OpenCV libraries (e.g.,
C:\opencv\build\java\x64
under Windows).
외부 폴더 ...를 선택하고 OpenCV 라이브러리가 들어있는 폴더를 찾습니다 (예 : Windows에서는 C : \ opencv \ build \ java \ x64).
In case of MacOS, if you installed OpenCV without Homebrew, you need to create a soft link with .dylib extension for the .so file. E.g., from the terminal, type:
ln -s libopencv_java300.so libopencv_java300.dylib
Set up OpenCV for Java in other IDEs (experimental)
If you are using IntelliJ, you can specify the location of the library with the VM argument
-Djava.library.path=/opencv/build/lib
.
IntelliJ를 사용하는 경우 VM 인수 -Djava.library.path = / opencv / build / lib를 사용하여 라이브러리의 위치를 지정할 수 있습니다
'DEV' 카테고리의 다른 글
| 3. Your First JavaFX Application with OpenCV (OpenCV를 사용한 첫 번째 JavaFX 응용 프로그램) (0) | 2017.12.09 |
|---|---|
| 2. Your First Java Application with OpenCV (OpenCV를 사용한 첫 번째 Java 응용 프로그램) (0) | 2017.12.09 |
| JAVA 오토 타이핑 프로그렘 만들기 (12) | 2017.11.15 |
| 장진만쌤의 Sung Kim 교수님의 모두의 RL 수업을 보고 나서 따라 하기 (0) | 2017.10.16 |
| eclipse + SVN (subversion) 설치 (0) | 2017.08.03 |


